The Apex installer is typically an ISO file exceeding 2GB in size. While you can check for the latest version, Libra Connected compatibility begins with Apex version 7.9.3, released in November 2024. However, newer versions include important fixes and software enhancements.
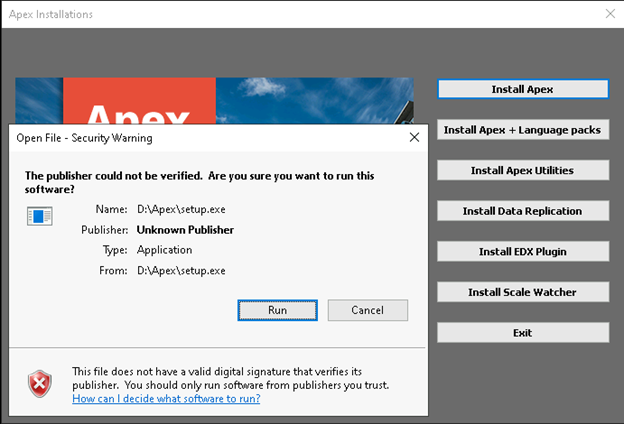
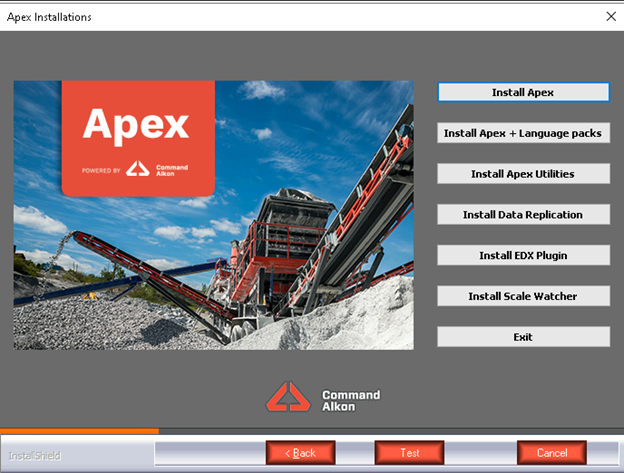
1. To begin the installation, mount the ISO image in Windows and double-click the setup.exe
file. A window will appear prompting you to start the Apex installation—simply select the first option,
Install Apex.

2. You will be prompted to run the installer from an unknown publisher. Please click on Run.
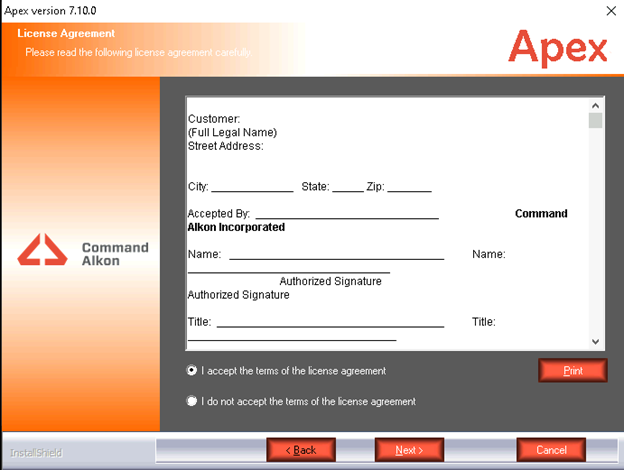
3. On the following window, please accept the terms of the license agreement and click Next.
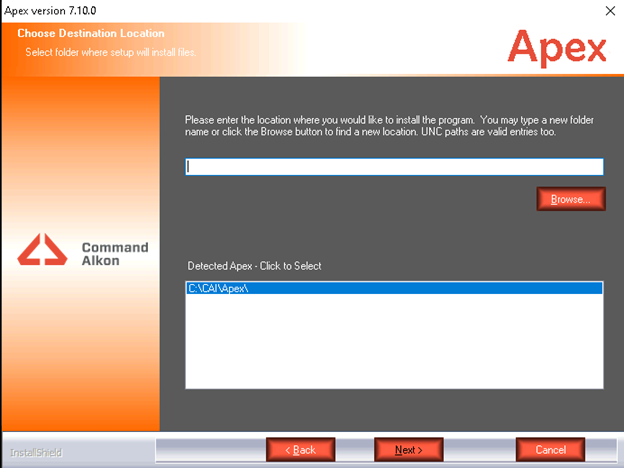
4. If it's the first time you install Apex you will be suggested to use C:\CAI\Apex as the default path, if you already installed it, you will find on the next field the detected Apex path. You can use the defaults and click Next.
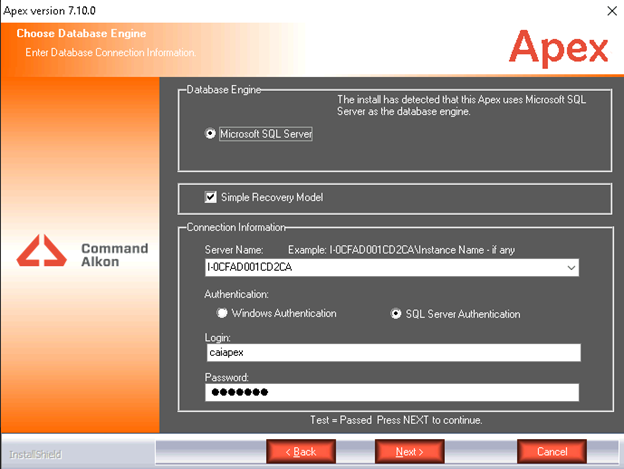
5. Then at the bottom you will see a Test button, please click on it. The installer will test the connection with SQL server.
>
6. Apex only supports Microsoft SQL Server. Make sure you have the correct server name and use the user and password you created in the previous section, "caiapex". Then click on Next.
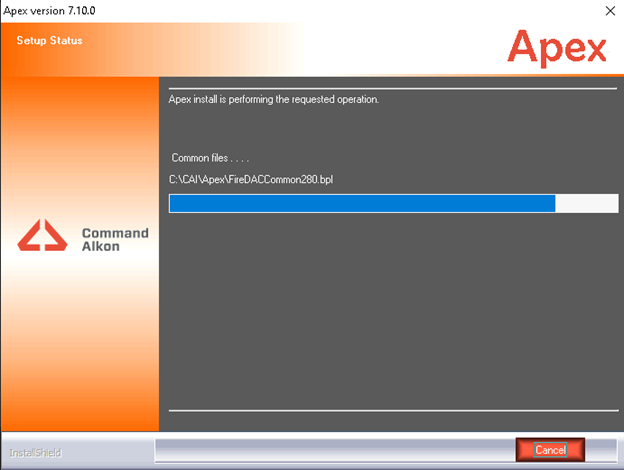
7. If the SQL connection is successful, the Apex installation will commence, and you will see a window similar to the one below.
8. Once the process is complete, you will receive a message stating Apex has been installed or Apex has been updated. At this point, you can confirm that Apex has been successfully installed. Simply click on Finish and close the home installation window.
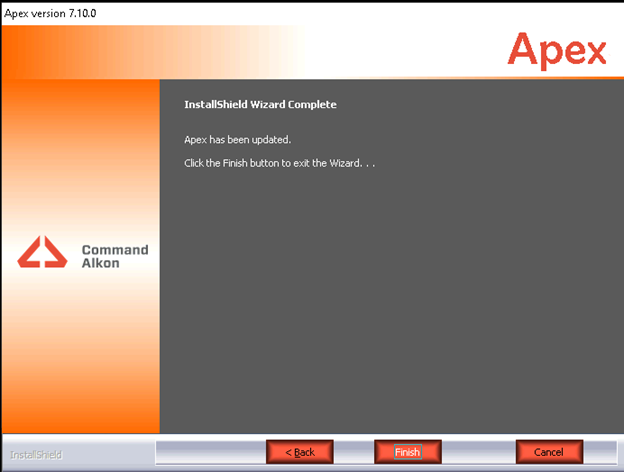
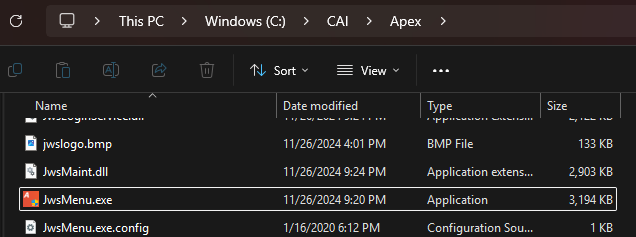
9. When the installation is done, go to C:\CAI\Apex, look for JWSMenu.exe and create a shortcut on the desktop, you can rename it as APEX.
>